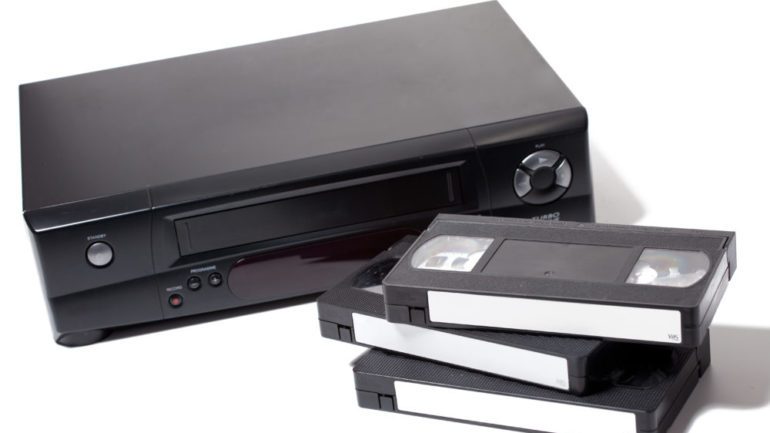
Your children’s precious years are preserved on tape and in photo albums. Or are they? Old video tape degrades over time. Photos turn yellow. Here’s how to rescue those memories for the digital age.
Preserving photographs. Purchasing a scanner is a great first step to preserving photos. Choose one that is NOT a combination printer and copier. A machine dedicated only to scanning will produce better quality and have greater versatility with photo editing. When scanning, take the time to meticulously clean the scanner surface of dust and smudges with a microfiber cloth. Even tiny specs will show up on your scans.
Organize your pictures by year, by event, or by person, whatever suits you. Place three or more pictures on the scanner at a time, but allow space between photos. Set the resolution or DPI, which means dots per inch. 300 DPI is sufficient to share on social media. A setting of 600 DPI gives greater clarity for printing.
With an auto-crop setting, images can be cropped individually. Saving in JPEG compresses the image and saves space in your computer memory, but quality will suffer. Saving as a TIFF file saves every bit of information with no loss of quality.
Once saved to a hard drive, back the images up to the cloud or onto an external hard drive.
Converting old video. There are two main ways to convert old video, which can become brittle and lose picture quality steadily after only ten years. The first is to take your videos to a service for transferring the videos to DVD. Photography stores offer this service as does Costco. Costco also offers cloud-based storage for organizing and sharing. These services typically cost about $20 per produced DVD, plus the cost to buy each disc, about $10 each.
The second method is to do it yourself with the purchase of a VHS-to-DVD converter. The process is time-consuming, but not difficult. The converter recorders range in price from $140 to $500. Depending on the number of VHS tapes you have on hand, this might be your best bet.


