Rooms above uninsulated garages may be harder to cool and warm than the rest of your house. You also may notice car odors in those rooms. The solution to these problems is to insulate and air seal the garage ceiling. Here’s what you need to know about installing garage ceiling insulation.
In through the garage, up through the floor
A lack of insulation in the joist space between the garage and the living space above it causes air quality fluctuations in that room. If air leaks around the edges of the wooden floor decking of the upper room, the problem will be even worse. Heat transfers from warmer areas to cooler ones, so without garage ceiling insulation, the upper room’s heat migrates down to the colder garage. In summer, the garage heat rises through the floor into the living space.
If you’re not sure if your garage ceiling is insulated because it’s covered with Sheetrock, drill a one-inch hole in an inconspicuous place. Then peek in and probe around.
The difficulty of installing garage ceiling installation depends on whether the ceiling is covered with Sheetrock.
Garage ceilings with Sheetrock
If there is Sheetrock but no insulation, you can have foam insulation injected into the spaces between joists or have shredded fire-resistant insulation blown in. With either type, holes are drilled into the Sheetrock at intervals between joists. Then a hose is inserted into the holes to blow in the insulating material. Finally, the holes are then patched and repainted.
These methods will fill the space entirely. Insulating foam will also push into the tight spaces between the joists and the floor decking above, providing an air seal. Some brands of foam are antimicrobial, preventing mold growth.
If you’re thinking of installing garage ceiling insulation yourself, watch online videos to see if you feel confident in renting and using the necessary machine. If not, hire a professional.
[convertkit form=1810065]
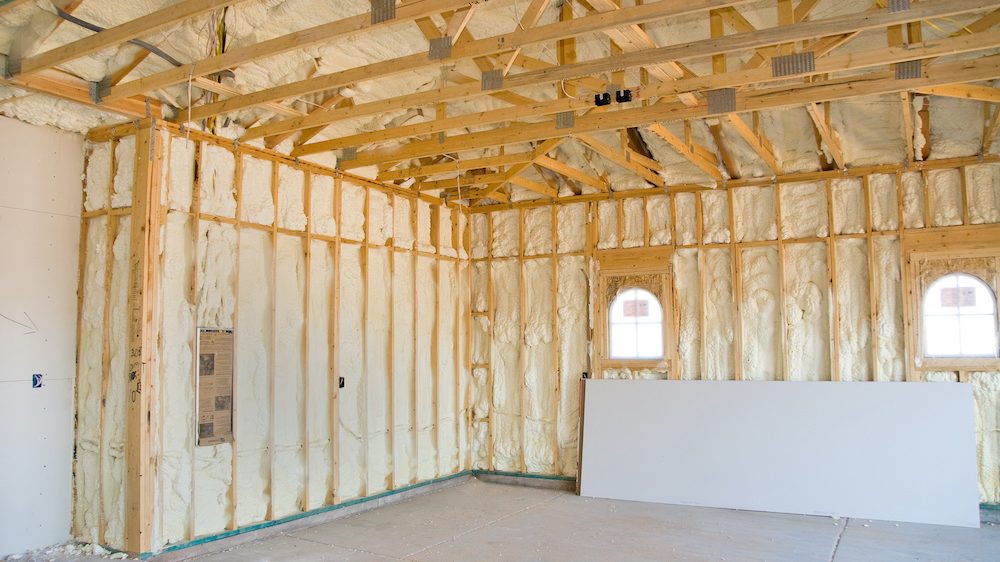
Garage ceilings without Sheetrock
Installing insulation in a garage ceiling without Sheetrock is a more straightforward task you can almost certainly do yourself.
Before you begin, take two measurements. First, measure the space between joists. If they are set at the standard 16 inches on center, the space will be 14.5 inches between joists. Then measure how deep your joists are.
Armed with these figures, purchase several tubes of caulk, a caulking gun and rolls of fiberglass insulation that are the correct width. If your joists are eight inches deep, purchase insulation with a value of R-25. If the joists are 10 inches deep, opt for R-30. It is important to buy kraft-sided insulation, which has a paper or plastic layer attached to one surface that provides a moisture barrier.
Use the caulk to fill the tight line between each joist and the floor decking above it, working your way along the length of each joist on each side. Also seal any other small spaces you may see. This will be a painstaking job.
Next, roll out the insulation between joists with the kraft side up. You may need to staple the insulation at intervals to the joists. You can also purchase plastic netting to hold the insulation up.
These methods should improve the temperature and air quality in the room above, not to mention saving you money on your energy bills.
Related – New Technology Improves Home Insulation