We’ve all seen them: nail or screw heads popping out of sheetrock after a house settles. They are a blemish on an otherwise smooth surface, so your eye is drawn to them. Can you fix them yourself? You sure can. Here’s how.
Supplies. You’ll need a box cutter, a nail set and hammer, a screwdriver, a putty knife, a six-inch joint compound knife, coarse-threaded compound screws (minimum 1 5/8 inches long), wall mesh tape, sheetrock compound, a fine grit sanding sponge, one quart can of primer paint, wall paint in existing color for final coat, and a small paint roller.
Step 1: Use a box cutter to cut a circle around the edges of the pop, exposing the nail or screw head.
Step 2: If the fastener is a screw, back it out with a screw driver. If it is a nail, pull it out, if possible without making a much bigger hole. If damage is likely, use a nail set and hammer in as far as possible below the sheetrock level.
Step 3: Use the hammer to make one clean strike on the hole, opening up the diameter.
Step 4: Drive a drywall screw longer than the one removed into the sheetrock a couple of inches above or below the repair.
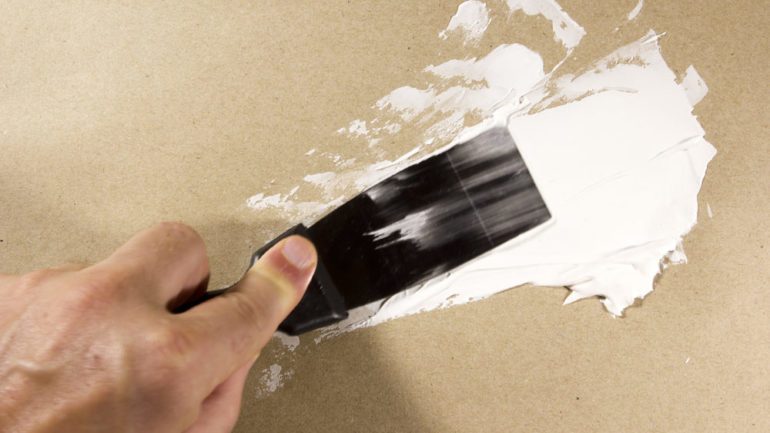
Step 5: Apply joint compound to both places with the compound knife and scrape out ridges until smooth.
Step 6: If the wall was damaged from your removal of the fastener, sand the area around it and apply a patch of drywall mesh tape, then apply drywall compound over it. Allow all compounding to dry.
Step 7: Lightly sand the whole area, feathering the edges to blend with the rest of the wall.
Step 8: Apply a coat of primer paint and let dry.
Step 9: Lightly sand the primer coat.
Step 10: Apply a coat of the paint matching the rest of the wall. Let dry. Apply a second coat later, if needed.
The resulting repair should nicely blend in with the rest of the wall as though the pop never happened.


