If you’re looking to spruce up your lawn, should you have sod brought in, or should you seed? One is a faster route, but the other is less expensive. Let’s compare each method and you’ll be on your way to achieving that green, green grass of home.
Let’s prep. First, the existing soil needs to be tested and prepared. Test the soil’s PH factor using a kit purchased from a knowledgeable local nursery, then put down any needed supplement. Have the nursery staff walk you through that process. The soil needs to be tilled, rocks and weeds removed as much as possible, and if needed, a good topsoil and manure spread added and tilled in to receive either the sod or seed.
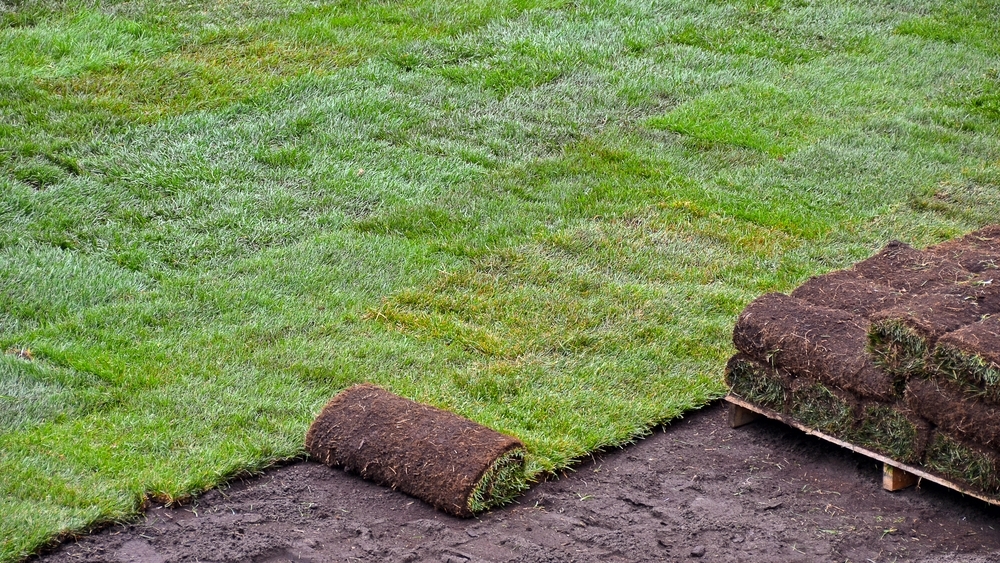
Instant lawn. One of the chief benefits of laying sod is the instant gratification. A truck pulls up, pallets of sod are unloaded and the sod is laid. Voila! You have a yard! Lush and green, sod also comes with a cushion of about three quarters of an inch of soil under it. Sod must be watered well after installation and shouldn’t be walked on or mowed for a couple of weeks or until the soil on the bottom of the sod squares and the soil on the ground merge. To help the sod get established, water daily for a couple of weeks or risk having sod squares shrink and separate from one another and die. Sod is not guaranteed to be weed free. On the farms where it is grown, sod is susceptible to having weed pods blown into it by the wind, which can then show up on your new lawn. If cost is a major concern, be aware that sod is considerably more expensive than seed.
Hand seeding. Planting seed is a less expensive way to grow a lawn but requires a little more patience and work. First, research the types of grass that will provide the look you want plus thrive in your climate and soil type. Next, as described above, the ground needs to be prepared. Then, use a fertilizer spreader to lay down the seed evenly over the area. Be sure to follow the seed density distribution recommended. Lightly rake in the seed to work it into the soil. You may want to spread straw over the ground to hide the seed from birds. A light watering afterward helps the seed to adhere, germinate and begin to establish roots. Don’t water too much, however, because you don’t want to wash your seed away. Water every day for about ten days; it may take a couple of weeks for you to see sprouts. The seed you sow should be weed-free so if weeds appear, it likely will be weeds already in the soil that were missed during soil preparation.
A middle way. An alternative to sod and hand seeding is hydro mulch or hydro seeding. You’ve probably seen lawns or the soil alongside a road sprayed with green hydro mulch. It is a mixture of grass seed, water, fertilizer and mulch in a somewhat pasty consistency that clings to the ground.This mixture, when sprayed with a hose, is designed to hold the seed in place until the seeds can root. Often the fertilizer will be phosphorus rich to stimulate root growth. Again, the ground will have to be prepared beforehand. If you hire one of the professional services for hydro mulching, the job should include prepping and spraying.


